How to Prevent and Fix Paint Roller Marks After Drying: Five Tips for Beginners
There is no shortage of devices made to help DIYers with their painting projects. And despite the abundance of them, the tried and true roller is still the most popular method to apply paint to surfaces. But have you ever noticed that after the paint has dried, you see roller marks? If you’re looking for solutions to fix this problem, you’ve come to the right place.
Top questions from homeowners about roller marks after painting
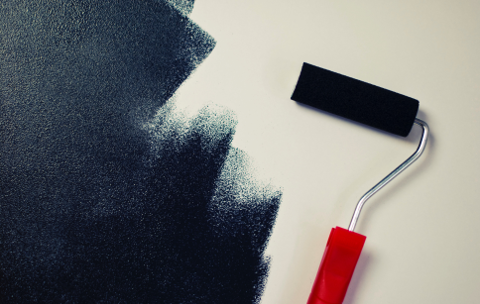
The project is going great and you’re covering a lot of surface with your paint of choice, but suddenly you notice some streaks on the wall. Call it a lap mark or a streak or a roller mark, the result is still the same – it doesn’t look good. Let’s look at how this happens.
Why do I see roller marks after painting?
Did you purchase bargain basement paint? That can be the problem sometimes, but you can also experience an abundance of roller marks if you use cheap, poorly made rollers. More often than not, roller marks occur when you fail to load your roller with enough paint, or have exhausted the paint in your roller and are trying to cover more area than you should. Finally, applying the wrong amount of pressure can cause paint to push out around the edge of the roller, creating a streak.
Will streaks go away when paint dries?
If you see streaks in your paint while it’s still wet, there is a high probability that they’re going to be there when it dries. So, unfortunately, you’re going to have more work ahead of you to get rid of them.
Will a second coat of paint cover roller marks?
Some painters will wait until the paint fully dries before fixing roller marks. The second (or third) coat of paint on the “oops” areas will even out marks and leave you with a flat, even finish.
How to get rid of roller marks when painting?
Another option on areas where there is a raised roller mark is to knock it down with sandpaper after the paint is completely dry. Then, wipe down the areas where you sanded and add another layer of paint.
It’s been said that roller marks are just part of the process that you have to deal with when you take on a DIY painting project. Fortunately, it’s a fairly easy fix.
What causes roller marks when painting
Give yourself a break, you’re not a professional painter and mistakes are bound to happen. Are you noticing the marks in areas where you were running out of paint in your roller but kept painting anyway? Or, are you seeing them in areas where you had just loaded your roller and applied uneven pressure?
These are the two most common reasons for the roller marks, so just pay attention to how much paint you're putting on your roller and the pressure you’re applying while painting.
How to remove roller marks without repainting
If you’ve exhausted your paint supply or just don’t want to bust out the rollers and do another coat over the lap marks, grab a piece of fine grit sandpaper and a wet sponge. When the paint is completely dry, go over the marks with your sandpaper, being careful not to remove too much paint – you’re just trying to even it out. Grab your wet sponge and wipe down the areas where you worked to clean the surface.
You can do this as many times as needed to remove the marks.
How to fix paint streaks on walls
Sometimes, the roller marks won’t be visible unless you see the walls in different lighting. So, you might think everything is going great until you open a curtain, daylight enters the room and suddenly you’ve got streaks. Don’t worry, you can go over these areas with another coat of paint or use sandpaper to even out the edges.
How to get rid of roller marks on ceiling
The ceiling can be a problem area for DIYers. Gravity can play some tricks on you, especially if you’ve overloaded your roller. Fortunately, just as you do with your walls, you can get rid of roller marks on the ceiling by applying another coat of paint or using a fine grit sandpaper to knock down the ridges.
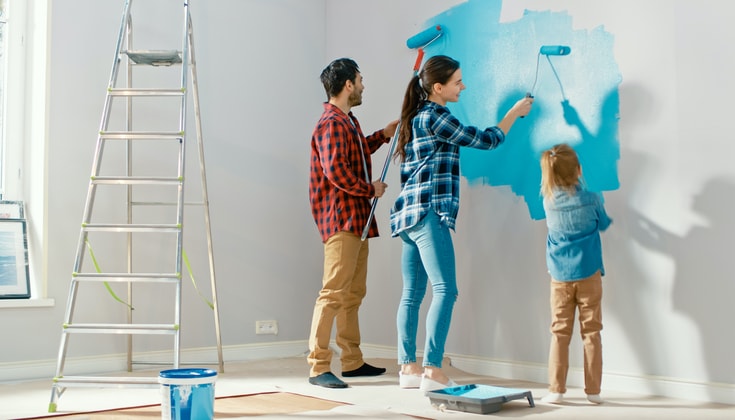
5 Tips for beginners: how to get rid of and prevent paint roller marks
If you’ve just noticed that you’ve got roller marks on your wall and you’re stressing out, rest assured that you’ve come to the right place to fix the problem. Also, if you’re looking to prevent this problem from happening in the next room you paint, we’ve got you covered with these tips:
Tip #1: Extra coat of paint
Try another coat of paint. Just go over the areas where you see streaks and even them out with another coat, being careful this time not to apply the wrong type of pressure or fail to use enough paint on the roller, which is what created the streaks in the first place.
Tip #2: Sandpaper
Use sand paper. With a fine grit, you can even out the roller marks. Just wipe the surface down after you’ve finished with the sandpaper and go over the streaks lightly with more paint.
Tip #3: Roller size
Use the right roller size. If you’re working on a large surface, use a larger roller. Use smaller rollers in areas that are tighter. This will prevent you from limiting your strokes and cover with more efficiency.
Tip #4: Roller type
Use the right roller. If you’re working with an oil-based paint, don’t use a roller made for acrylic paint and vice versa.
Tip #5: Paint quantity
Purchase the right amount of paint. Being frugal has its place, but when it comes to paint, bring the right amount to the job and you’ll prevent yourself from pushing too hard to paint more area than can be effectively covered.
Tips how to paint with a roller without streaks
You want your painting project to end with high quality finishes, and roller marks don’t fit into that equation. There is a delicate balance required to prevent roller marks and it involves getting just the right amount of paint on your roller, applying the right pressure, and using consistent strokes. Also, you have to know when to reload your roller with paint, because a lack of paint can also cause roller marks.

Tips how to fix other painting mistakes on walls
While roller marks represent the majority of DIY painting mistakes, there are a host of others that can happen. Let’s take a look at several of them:
- To get the best possible outcomes, you have to start with an even surface. Most mistakes can be prevented by patching holes and fixing gouges in the walls and ceilings before you apply your primer.
- Make sure all your surfaces are clean, but don’t use any strong cleaning agents – stick with diluted dish soap.
- If you’re using painters tape, but sure to remove it before the paint dries, otherwise you might pull up paint that you didn’t intend to.
- If you’ve only used one coat, there is a good chance you’re not going to like the outcome. A second coat is almost always a necessity.
- You can avoid a lot of mistakes by painting with the right amount of illumination in your room. Bring in a flood light, turn on all the overhead lights and open the curtains. The more mistakes you can catch early the less likely you will have to come back later and do more work.
- Paint runs are similar to roller marks and can be fixed with sandpaper, a wet sponge and maybe another coat of paint to even out the edges.
- If you’re working in an area that is unusually humid, you might experience bubbles in your paint. These will need to be scraped off and sanded before another coat is applied.
Some DIY projects go smoother than others, but when you experience an issue, there is almost always a fix. If we haven’t addressed your issue here, contact us and let’s figure it out.
Prevent roller marks when painting by hiring a professional painting contractor
Americans are crafty individuals, eager to tackle their home improvement projects, and painting is one of the most common ones that they take on for themselves. However, there are obvious differences in the end results when you compare what the average DIY painter can do against the professionals.
We applaud the efforts of all DIYers out there, but we’re also here to assist our customers with painting projects, offering stunning results without all the headaches. We use the right tools for the job, the best quality paints and we employ the techniques that quickly and efficiently gets the job done, on time and on budget. Is your project something that can be completed in one day? It might be a perfect fit for our one-day painting services. Contact us and we’ll discuss your project and our service options.
